
Well here we are at the end of the Twisted Roots MAL, and I can hardly believe it. It’s been so much fun chatting with everyone and seeing you making my scarf! I’ll be honest, in the last year or so my knitting mojo has taken quite a hit and I’ve really not done a lot of knitting at all since I finished my Sliding Tiles Blanket design. You know… life… I know a lot of you out there understand more than ever right now.
Being able to talk to newer knitters to see them through this MAL, and seeing people who haven’t knitted for years picking up the pointy sticks again has been SO good for my soul. While I didn’t get a lot of knitting done during the MAL myself, it has reignited something in me that I have been missing for a long time now. I am starting to feel the ideas flowing and have even started playing with a new design idea, so this is a really good sign! Thank you to all of you for taking part and helping me find my connection to knitting again too. ❤️
DATES: January 6 – 27, 2021
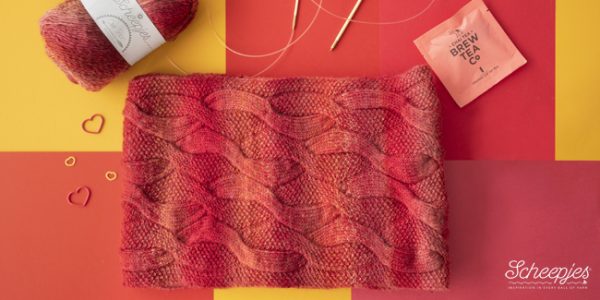
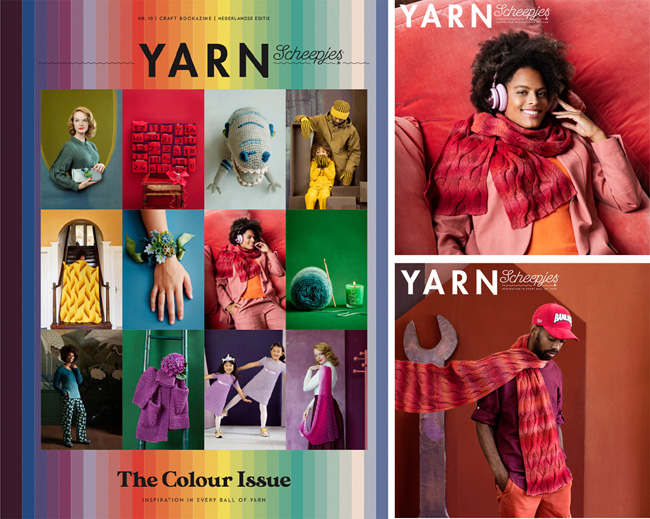
Pattern available in Scheepjes Yarn 10 Bookazine: The Colour Issue
Pattern languages: English (UK terms) and Dutch
Skill level: Adventurous Beginner
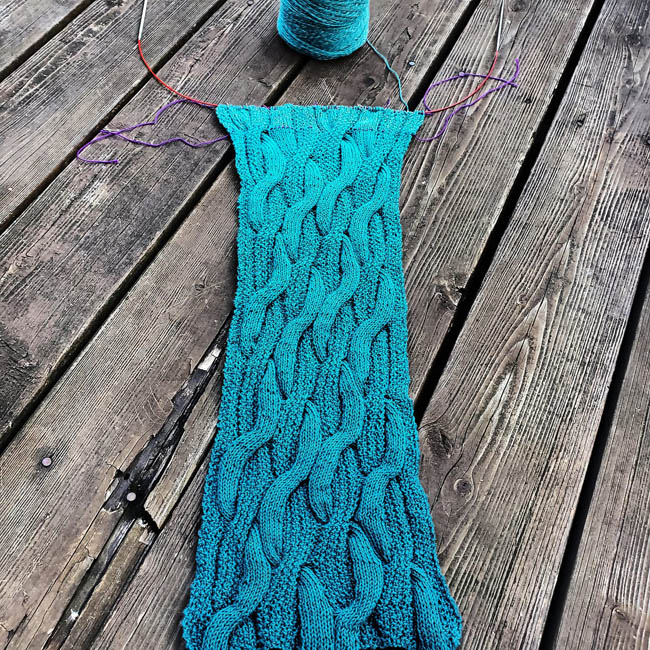
Yarn: 3 x balls Scheepjes Our Tribe
Photo example colours: Red 968 Happy in Red, Blue 975 Canadutch
Needle Size: 4mm (may differ depending on personal tension).
Needle Note: Straight or circular needles work. I used interchangeable circular needles with a 40cm cable.
Measurements: 235 x 30cm (92.5 x 12in) after blocking
Additional Supplies: Cable needle, blocking materials, stitch markers (optional)
Support & Community:
Join the Official International (English) Scheepjes Group
Join the Official Nederlandse (Dutch) Scheepjes Group
If you would like more info on this design and choosing colours, have a look here in my MAL Announcement post where I explained how I came up with the design and showed the pattern in all the glorious colours from my testers!
While the MAL is now ending, it’s never too late if you want to make this project. Feel free to join the Facebook groups and share your work or get advice. Before you start your project, be sure to read my Tips & Tricks post where you can find lots of information and tutorials, as well as some handy info for new knitters.
News From the Groups – Still Knitting Away!
I have quite a bit I want to write about blocking in this post, so be sure to check below for that, but I really enjoy sharing project photos from our group members, so here’s a few before I dig into the blocking details and other info!
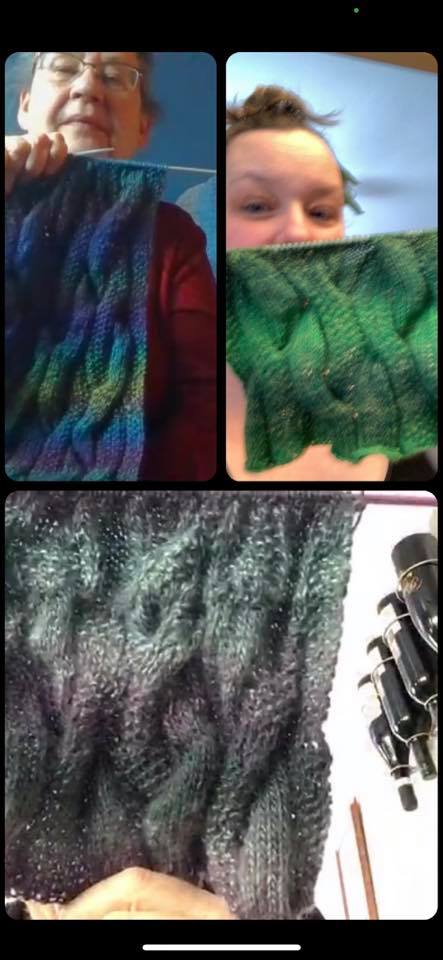
This post from Rachelle Anchikoski was really fun. She and her virtual knitting group are all working on their Twisted Roots Scarves together! There have been questions about how they chat and count at the same time, but she says they have come up with a ‘cable row warning system’ which appears to be working well. Isn’t crafting always so much more fun with friends!? 😊
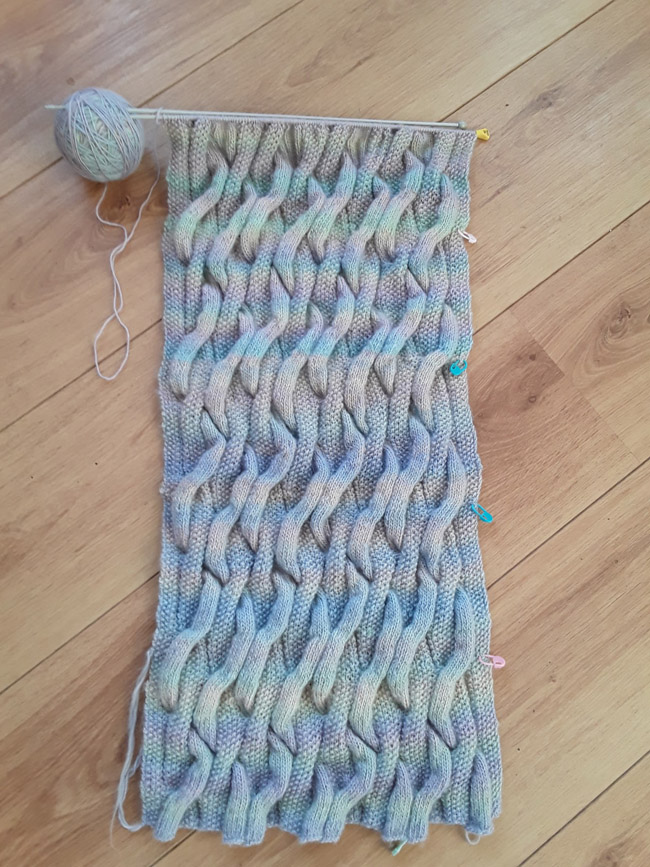
Lucie van der Velde has doubled the repeats to create a more shawl-like scarf in Our Tribe Simy (967). I think this is a great idea and I can’t wait to see how this looks when it’s finished and all blocked out. It’s just going to be a sea of gorgeous cables! She is making pretty great progress considering she is knitting twice as much!
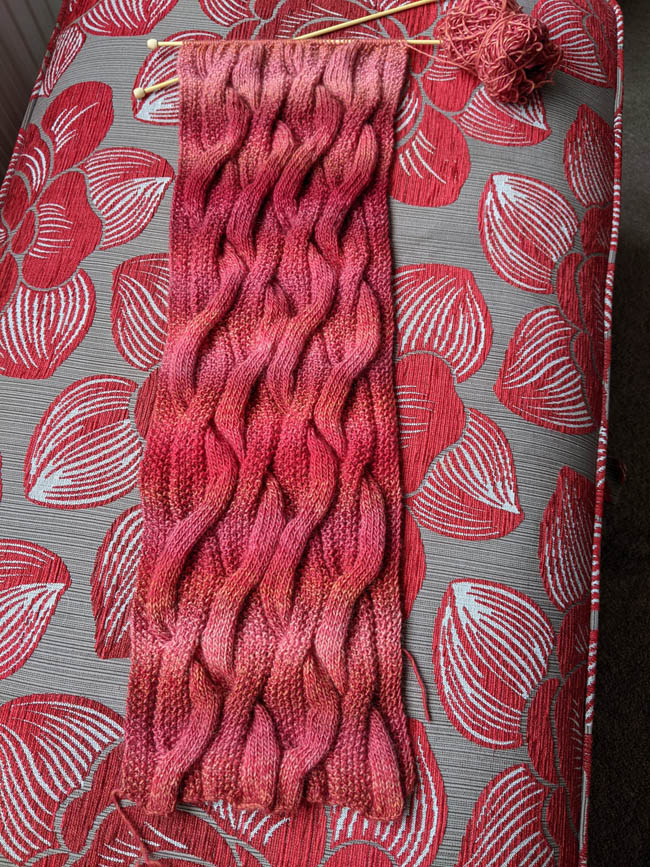
The Twisted Roots MAL is also a family affair! I’ve seen quite a few family members mentioning that they were working on their scarves together, which is so great. Maureen Park, the mother of my wonderful friend, tester and fellow group mod Niamh (who I mentioned in my previous post) is also taking part in the MAL! She is sort of like an honorary group mama to our little moderation team, so it has made me so happy to see her joining in. She’s using my original Happy in Red (968) colourway from the bookazine and is doing an absolutely smashing job!
Stacy Jo Armstrong has jumped on the Whirl wagon with this lovely Green Tea Tipple version and is finally starting to see the colour changes in her project (which we all know can feel like forever at times, am I right?!). I have to say, I really love Our Tribe a lot, but I’m also super excited about the Whirl versions I’ve been seeing. What can I say, just like everyone else, I love me some Whirl! 😁
Blocking Your Twisted Roots Scarf
As I mentioned in my previous post, to achieve the desired results of the original scarf shown in the bookazine, you definitely want to block your scarf and I will give you some tips on how to get the best results with this project in particular. I’m not going to reinvent the wheel here, though, and do a step by step tutorial on how this is done, because there are already loads out there and blocking this scarf is done in just the same way.
Also, why not give one of my lovely fellow Scheepjes Bloggers a shout out! Kirsten, from Haak Maar Raak has done a great blog post on how to wet block, which is the method I use most regularly and recommend for blocking your scarf. There is only one small difference in how I get the water out of my yarn for smaller items, which I will explain a little further in the post where I discuss my preferred blocking supplies.
Once your scarf has been soaked and you’ve gotten most of the water out, it’s time to get busy getting it into shape!
Originally, I was going to block what I have finished on my Felted Button scarf that I used for the tutorial photos in my Tips & Tricks post, but as I haven’t completed that fully yet, I thought it would be better to share photos showing the blocking process of the full scarf. So I dug out the photos I shared with my testers during the design process. If I’d known I’d be using them for a MAL, I’d have tidied up a bit! 🤪
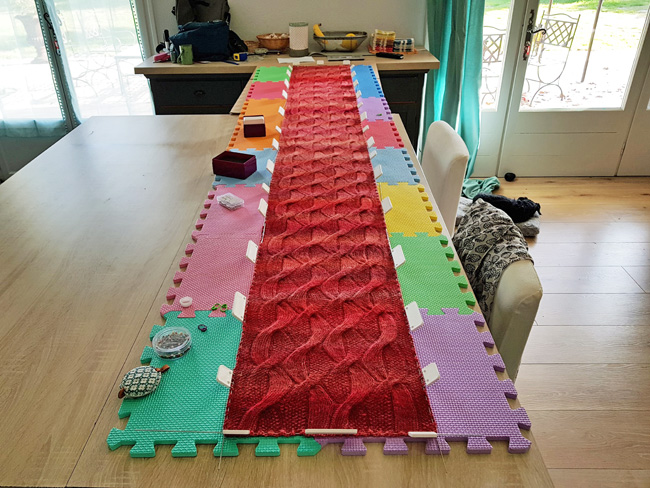
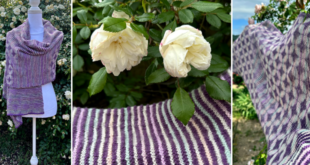
As you can see, this is a pretty long scarf, and this is the moment where you get to sit back and marvel at the flow of the cable pattern! Seeing your project on the blocking boards is the first time you get to really see it shine in its final form, and it’s such a satisfying feeling!
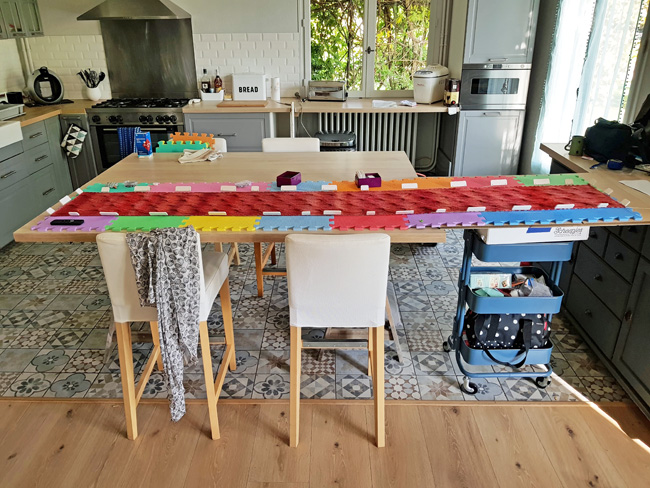
I know not everyone has space for blocking and I didn’t have good floor space for it at the time either as we had just moved and were renting a holiday apartment at the time, so I got creative and built a bridge in the kitchen using my trusty Ikea trolly!
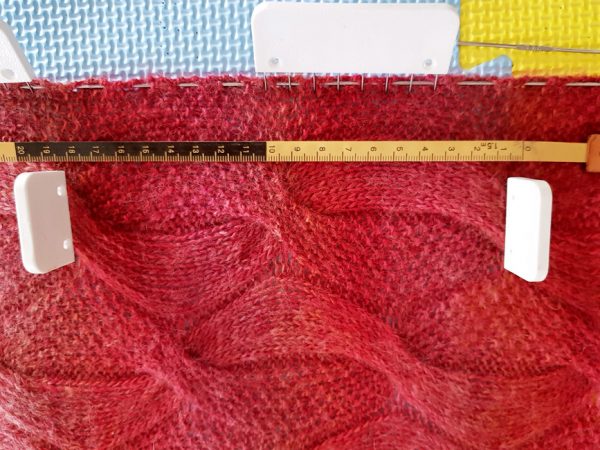
If you need an indication of if you are on the right track with your scarf when blocking, the best way to get an idea is to measure the length between your repeats. The measurement between two of the same cables is approximately 18cm. This isn’t an exact science, of course, yours may be slightly shorter or longer, but the main thing (as I mentioned above) is maintaining your width and making sure your cables are nicely spread out.
My method is to do a quick and dirty blocking, just to get it into the general shape, and then go over it and fine-tune, measuring and moving the pins as needed. I find that if I start at one end trying to get it just to the right measurements, sometimes I find myself at the other end realising it didn’t work and it needs to be done again, meaning I just wasted a lot of time. If you lay it out, spread it and pin it into the general shape and size you know you need, you can then measure it and go back over it moving things as needed.
That’s all there is to it, really! Make sure you give it plenty of time to dry properly to ensure it holds its shape. There will likely be some degree of bounce-back and this will vary depending on your tension and how tightly you worked your cables, but it should hold its form pretty well.
The official hashtags for the MAL are #ScheepjesMAL #TwistedRootsMAL #YARNTheColourIssue #YARN10, don’t forget to use them when sharing your project on social media!
You can also click here to add the Twisted Roots Scarf to your favourites or cast-on on Ravelry.
Follow me on Facebook and Instagram for fun news about the Twisted Roots MAL and be the first to know about future designs!
My Go-To Blocking Supplies
Every crafter is different, and we all have our own preferred needles, yarns and other supplies, and the same is true for blocking. We are all different and we use what works for us. Below I will show you some of my preferred blocking tools!
The best tool for blocking small items is likely already in your kitchen!
You can thank me for this later because it’s the best thing I’ve ever discovered and has made a huge difference in my blocking experience. After years of doing the wet log stomp after rolling a scarf or shawl into towels and walking on them to get the water out, I discovered THE SALAD SPINNER! Let me tell you, my salad spinner has spent years lazing around in the cupboard living the good life and not doing much of anything, because we are not huge salad eaters… but it is certainly earning its keep now!
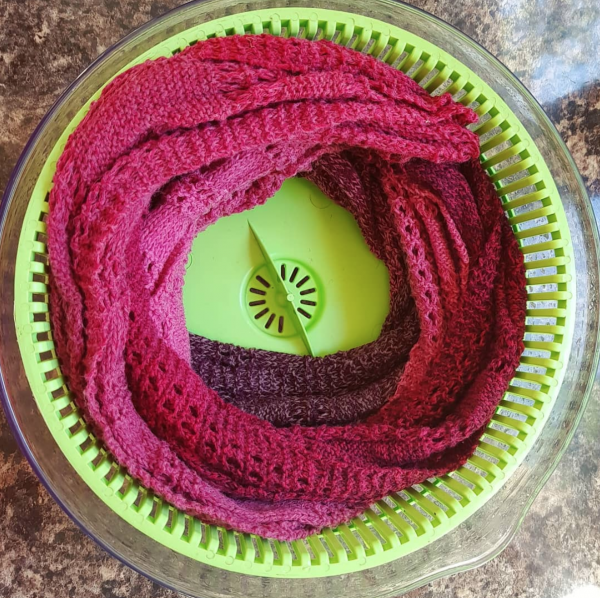
I didn’t think to take another photo when blocking my Twisted Roots Scarf, but above you can see a photo I posted on Instagram when I was blocking my Hopscotch Scarf. When it comes to blocking smaller items like lightweight shawls, scarves, hats, socks, swatches, etc… the salad spinner is the bee’s knees!
It’s so simple, you put your item into the spinner, fill it with water and a touch of your favourite wool wash and let it soak for a bit (I usually leave it for 15 or 20 minutes… sometimes longer if I get distracted, which happens all the time), then when you are ready, you lift out the inner bit, pour out the water… then put the cover on and spin that sucker like your life depends on it! Your project will come out still wet but you’ll get a lot more water out of it this way and you’ll save yourself some laundry!
I have to say, a tiny piece of my heart breaks whenever I knit something that doesn’t fit in my salad spinner. I know I can use the spin on my washing machine but it just doesn’t have the same feeling of satisfaction when you don’t get to spin the bejesus out of it yourself! 🤣
Knit Blockers
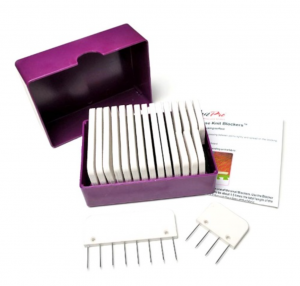
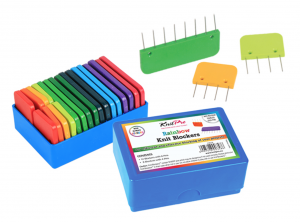
Most crafters will start out blocking with pins, and generally swear a blue streak while sticking eleventy million pins into a large project. That was me, anyway, there’s a lot of sailor language in my crafting process. My whole knitting world changed when I discovered KnitPro Knit Blockers. With the sets of blockers, you can easily block smaller squares or larger items in a fraction of the time it takes you to stick in one pin at a time. They help give a straighter edge and make the fine-tuning process much easier as well. I probably have about 4-5 sets of the white knit blockers, but the rainbow blockers are definitely on my list!
You’ll never regret buying these if you plan to block your projects regularly!
Blocking Wires
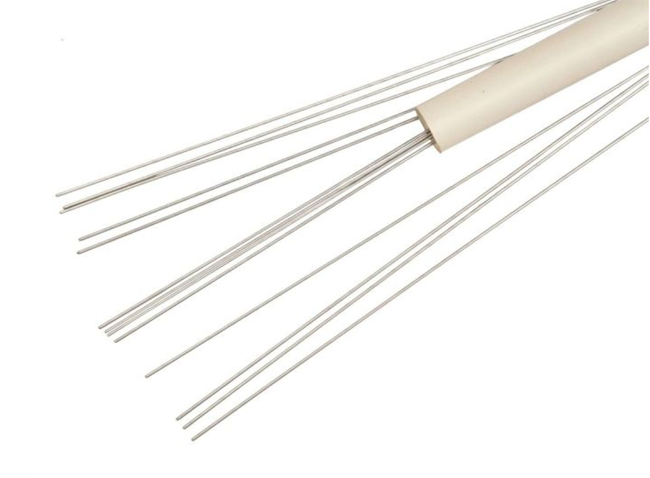
Blocking wires are extremely helpful for helping block your items, especially if you are trying to keep a straight edge, or have a larger area you need to work with. You can weave these through the edge of your work and then you only have to place pins or blockers at spots along the edge to help stretch it out. There are also more flexible wires that can be used for projects with a more curved edge. No more using 1000 pins to block one side of a scarf! I use KnitPro Blocking Wires but there are a number of different brands out there to try.
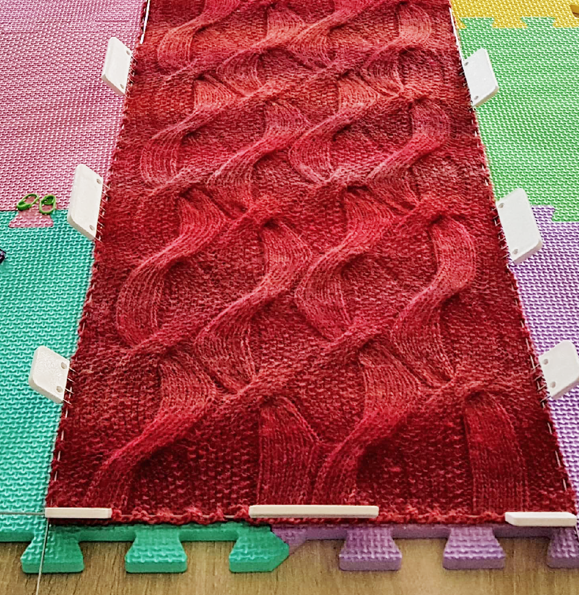
You can see the blocking wires and knit blockers being used here together in a zoom of my blocking photo from the original scarf. With these two tools, it’s easy to get a nice straight edge in your work. You may get a slight bump from the weaving of the wire through the fabric but that will flatten out and not be an issue.
Blocking Boards
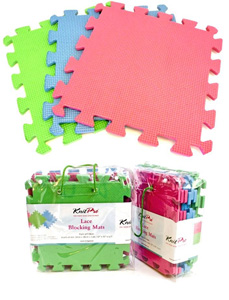
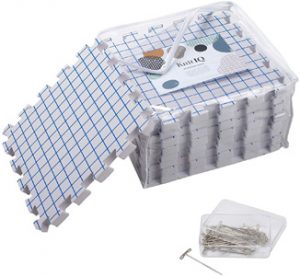
Blocking boards (or blocking mats, whichever you choose to call them) are necessary if you want to use items like Knit Blockers, as they are super sharp and can really damage anything that you stick them into (for example if you stick them into a rug, you may damage the floor below without realising it). The type of blocking mat you use doesn’t really matter, it just has to have enough thickness to stick your pins or blockers into without them going through the other side. I have many mats, including free numbered play mats I got from a friend whose daycare was closing, KnitPro Blocking Mats and my latest purchase, the especially thick KnitIQ Blocking Mats, which I love.
Any of these will work just fine and while I prefer the thicker KnitIQ mats now that I have them, because I like the extra thickness and not having to worry about pushing the blockers in too hard and them going through, I have used the others for years and gotten along just fine. Although I did lose the number inserts for some of my playmats over time, so that can be a bit annoying. Anyway, there is no real wrong answer here, just go with what you like the best and what fits in your budget.
Eucalan
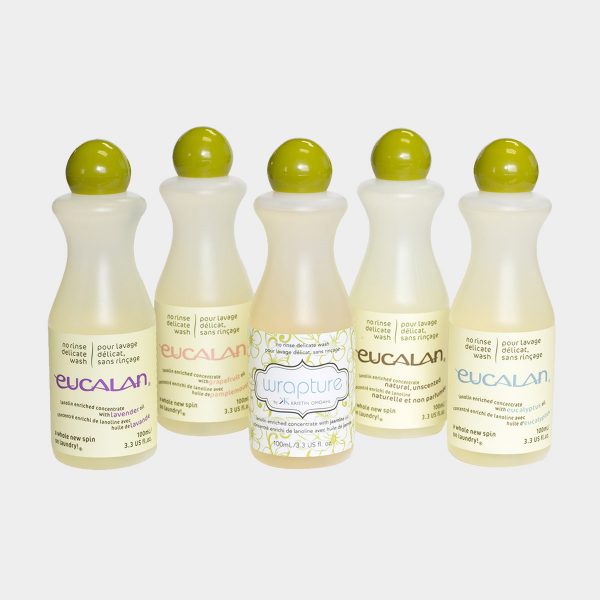
There are quite a few different brands of wool washes out there (I call them wool washes, others say conditioners or delicate wash, it all adds up to the same thing), but my favourite is Eucalan. This is a liquid that you add to your water when you soak your items, which softens the yarn slightly and gives it a lovely scent. My absolute, absolute favourite is their Jasmine scented Wrapture. My word… it’s heaven. Just choose your favourite scent, follow the instructions on the bottle and you’ll be right as rain!
Alright, well that’s it. The MAL is now coming to an end and I’ve shared all the info that I think you will find useful. However, we know that none of the projects we share in the groups ever really end, so no matter when you find this post and decide to make your scarf, you are always welcome to come to visit, share your project, ask questions or just say hello! 😊
This post contains affiliate links. If you purchase your yarn or other materials via the links in this post, I will receive a small percentage of the sale! This is no extra cost to you but is a big help to me as a designer. Thank you for your support!
When ordering your Yarn Bookazine, be sure to check the language as it is available in both Dutch and English.
UK and International: Woolwarehouse, Deramores, Black Sheep Wools.
Benelux: Caro’s Atelier
Bookazine subscriptions are also available: English | Dutch
You can also ask your preferred Scheepjes retailer or find a shop near you!

Hello Tammy,
Please let me know where can find the twisted root scarf pattern. I do not use facebook, or instagram or any social network.
It is not anymore avaliable on Raverly, I think… :-(
Many thanks for your reply.
Kind regards.
Marie Christine
Tammy you’ve inspired me – after being v scared of this very thin wool – Our Tribe – I have finally completed by first 6 rows – never thought I’d be knitting again – converted crocheter but here I go! Thank you for such a lovely pattern
I knew you could do it. :)